


Starting a New Blog From A to Z (Part 1 Case Study)
Head’s up my bloggers! This is a yet-to-be-edited ongoing journal of a project I am currently working on. Feel free to read it, but by all means, ask questions if anything doesn’t seem clear yet. I’ll be updating several times a day as I make progress. Happy blogging!
While I’ve written several tutorials and shared countless strategies over the years, I realize it can still be intimidating, or simply confusing, when starting out on your own. In light of that, I thought I’d share a case study, where I start one of my blogs and online businesses from scratch.
Transparency: I write all of my tutorials and blogposts WITHOUT affiliate links. Later, I go back and add affiliate links if a service or product I have already recommended offers one. If they don’t have an affiliate program, I still recommend them.
Getting Started
Step 1. I chose a topic. I usually have a few ideas running around my head- I never rush to choose, but rather wait until one really vibes, and I feel that “pull” to get started. I had come up with an idea for a blog that would help new moms. A sort of “survival guide.” It’s a topic that has been on my mind for quite some time (since my own days as a new mom) but I wasn’t quite certain it would be a topic with longterm interest and growing passion- something that I have learned is essential in blogging. That doesn’t mean I have to blog on the topic forever. However, I do want a topic that I can pour my heart and soul into for an extended period and if/when I no longer feel that, I can pass it on to another. So, the other day, I was at the gym and I noticed a new mom. I chit-chatted with her a bit, and recognized that insecurity with the baby and that awkward feeling where your yoga pants just don’t fit as well as last year. (I’ve been there girl!) Long story short, I felt that inspiration climbing and knew it was time to start the blog.
When I really want to know if I’ll enjoy the topic, I will open up a keyword research tool (I use SEM Rush’s magic keyword tool) and look at popular google searches in the niche. If they are queries I know the answers to, and have an interest in, I know I’m on the right path.

A few thoughts start running through my head… “What if I could build a blog that offered complete guidance for new moms; especially those who don’t have a strong support group at home. I had no family nearby to help out, but it meant the world to me when my friend, Jade, came by to offer me some tips. I was also grateful for the new mom’s group I was able to join when my son was about 4 months old. What if women could get this type of support online? What if I could ask my guru friends, of various paths, to provide a video here and there? Loren Lahav, my dear friend and creator of “Badass and Beautiful” – can I get an inspiration video for New Mom’s? Heck ya, she’d love to help them! @DocJenFit on Instagram, and creator of The Mobility Method- would you be willing to do a few mini workouts for some new mommys out there? I can also offer merchandise, and especially workout clothing for new moms…” Ok, you get the idea… this has been going on for days now, so you can imagine the ideas I have come up with- I have a notebook full. I may need a new notebook soon.
Step 2. I Researched. First things first, I Google my topic to see what is out there. Shockingly little. I mean, there are mega sites that have dedicated new mom guides, but not one site that is dedicated to new moms. This is honestly ideal for a new site- the need is there (how many new moms are there daily?) and there is essentially no fully-dedicated competition. Bingo.
- I create a list of potential site names: “Alexa, create a list called New Mom Site.” (What did we do before AI, seriously?) As I’m walking around the house chatting with Alexa… a few of the names I came up with were sounding pretty good. Most with “New Mom” in them. I needed a twist though- something that would stand out from the all-too-vague “new mom” phrase. As a rule, I want a domain name that is subconsciously positive, brand-able, short, memorable, a .com, and unique.
I pull up a few sites that I use specifically for this and begin typing in words.
 Bustaname.com – I love this nifty tool. Simply type in a few words and it will give you domain name suggestions. You can also type in domains to check instantly if the .com, .net (boooo), and .org are available. I put in new mom and get a few suggestions. I check newmom.com for availability out of curiosity and it’s taken. I pull up the site… it’s dead (out of commission- someone is sitting on the domain.) This is something to keep in mind for the future. I’m checking various domains here but nothing is promising.
- Shopify Business Name Generator. I pull up this handy generator and plug in New Mom. My sweety, Steve Hott, is producing the new Motley Crue production here in Las Vegas, and the production’s name is Motley Nue, so of course I am thinking “Nue Mom.” Even shorter (short is good) “Nu Mom.” I type these in and peruse the list… “Nu Mom Project” stands out. I’m loving this for what I want to do. It says who my intended audience is. It’s close enough that Google will figure out quickly what my topic is. It also says, “I’m doing this out of good will” and it says that “i’m open to content contribution.”

Once I have it narrowed to a single name or two…
- Trademark Check. I search TESS for both Nu Mom and Nu Mom Project just to cover my bases- I don’t want to step on anyone’s toes, so I check a few more similarities as well. All clear.
- I Google “Nu Mom” and “Nu Mom Project” to check that no one else is using the names. Again, I don’t want to cause issues for someone else who has already put the time and money building the same brand. Also, just a head’s up- a trademark goes by “who was using it first” and not just registration date. So take care not to build on something that belongs to another.
- KnowEm.com. This genius site allows you to check the availability of your name on major social media sites in one step. Nu Mom and Nu Mom Project come up free on most of the sites. It shows taken on YouTube, but I find that happens often and it’s easy to add a space, or take away a space and make it fit. There’s always a slight variation you can do here. The important ones are Twitter and Facebook. Depending on your niche and where you plan to share/market, the next important are YouTube, Instagram and LinkedIn. For this particular topic, I know I will be doing a lot on all of these except LinkedIn. I know these will be my focus for this subject, but I re-evaluate for each blog I start and suggest the same to others.
If the check fails on any of these, and shows someone else is already building on the name you selected, choose another name and start over. In this case, the name Nu Mom Project worked out.
So… we have chosen a domain name! NuMomProject.com.
Once you have chosen a domain name….
Step 3. It’s time to create an email account. This is always my first step after selecting a name, simply because you will need it for just about everything from here on out. You can use another email service, but I prefer Gmail since it has so many features, (thank you spam and promotion filters!) and easily syncs with Google docs etc., which I use frequently.
I’ve chosen numomproject@gmail.com.
Step 4. Purchase your domain and hosting. I prefer BlueHost for a number of reasons, but in all honesty, I prefer them simply because GoDaddy has gotten far too spammy and fear-tactic-y (ya, I know it’s not a word) for my taste. I also find BlueHost to be much more simple for setup, and less expensive in the long run. Note: Once your site gets large enough, you will want to switch to your own server. I have a server for my busiest blogs, to handle the massive amount of data and traffic they receive. When starting out however, there are few cases where a dedicated server would make sense since they usually run over $200 a month. BlueHost offers individual site hosting starting at $2.75 a month (current multiple year savings offer) and they bill annually. I usually opt to purchase 2 years at a time, or more. It saves money and time (and time is money.) I also opt for at least the “Plus” or “Choice Plus” option. I don’t want to have to worry about space- which I fill pretty quickly. The price of this is exceptionally small, considering this is the largest investment you will make for your new business.

Update: I was just asked about free hosting from WordPress.org and Blogger.com. If you intend to make money with your site and create a business… please do not opt for free blog sites. There are several reasons I say this, but the two more important are: 1. You are extremely limited when it comes to modifying the site, adding plugins, changing the design, etc. These are all ESSENTIAL to building a successful blog. 2. You are always at risk of losing your site, should it suddenly be deemed your posts or settings etc are against their terms of service. I have seen this happen more than once- where a new blogger worked the site to make a few thousand a month, and then BOOM, their site was deleted and a TOS violation email was sent. No other explanation, no option to appeal. In all honesty, it’s simply not worth it, when self-hosting through a site like BlueHost or GoDaddy is so inexpensive.
Step 5. BlueHost setup. I’ve purchased my domain and hosting package, and BlueHost immediately asks if I would like a blog added, and a shop. Um, yes please! I tick off “yes” for both, and WordPress and the WooCommerce plugin are automatically installed for me. I won’t worry about setting up the shop just yet, but that will save me an installation step in the future.
BlueHost then takes me to a page that lets me select from an endless number of design themes. I love this for newcomers, however I have my favorite themes that I prefer for design, SEO, and mobile features. I also already have a theme in mind for Nu Mom, so I simply select the first BlueHost theme to move on. I will share my preferred themes further on in this post.
Everything is installed and I’m taken to their “blog setup checklist” page. For newcomers, I think this is amazing. This makes keeping track of setup so incredibly efficient. I tend to take this part for granted however, since I have set up well over countless blogs (really, I’ve lost count- over 1,000?) Anyway, I go ahead and hit “launch site” to go live, and boom, we are online folks! Note: It doesn’t matter what your theme looks like at this point, or what you have set up. No one is looking yet 🙂
Step 6. WordPress Set Up. The first thing I always do, is add a new user. This is because HostGator has already created one for you, using a top secret password that is so top secret, they don’t tell you what it is right away and I almost always get locked out and have to do a reset. I just go ahead and create a new user and re-log in using that.

Adding my favorite plugins….
Next, I install my tried-and-true favorite WordPress plugins. I install all of these first, and then go back and set them up rather than bounce back and forth. Note: try NOT to install a lot of plugins from here on out. Less is more. Plugins tend to complicate things, mostly in speed and resources. They can also cause co-mingling drama and other issues. Be stingy with your plugin usage.
I installed these plugins, and then went back and set them up:
- Core Tweaks WP Setup
- Yoast
- Pretty Links or Thirsty Affiliate
- Akismet (already installed)
- Classic Editor
- Pretty Links or Thirsty Affiliate
- Monster Insights
- OptinMonster
Further detail on each plugin; why I chose them, what they do, and how I set them up.
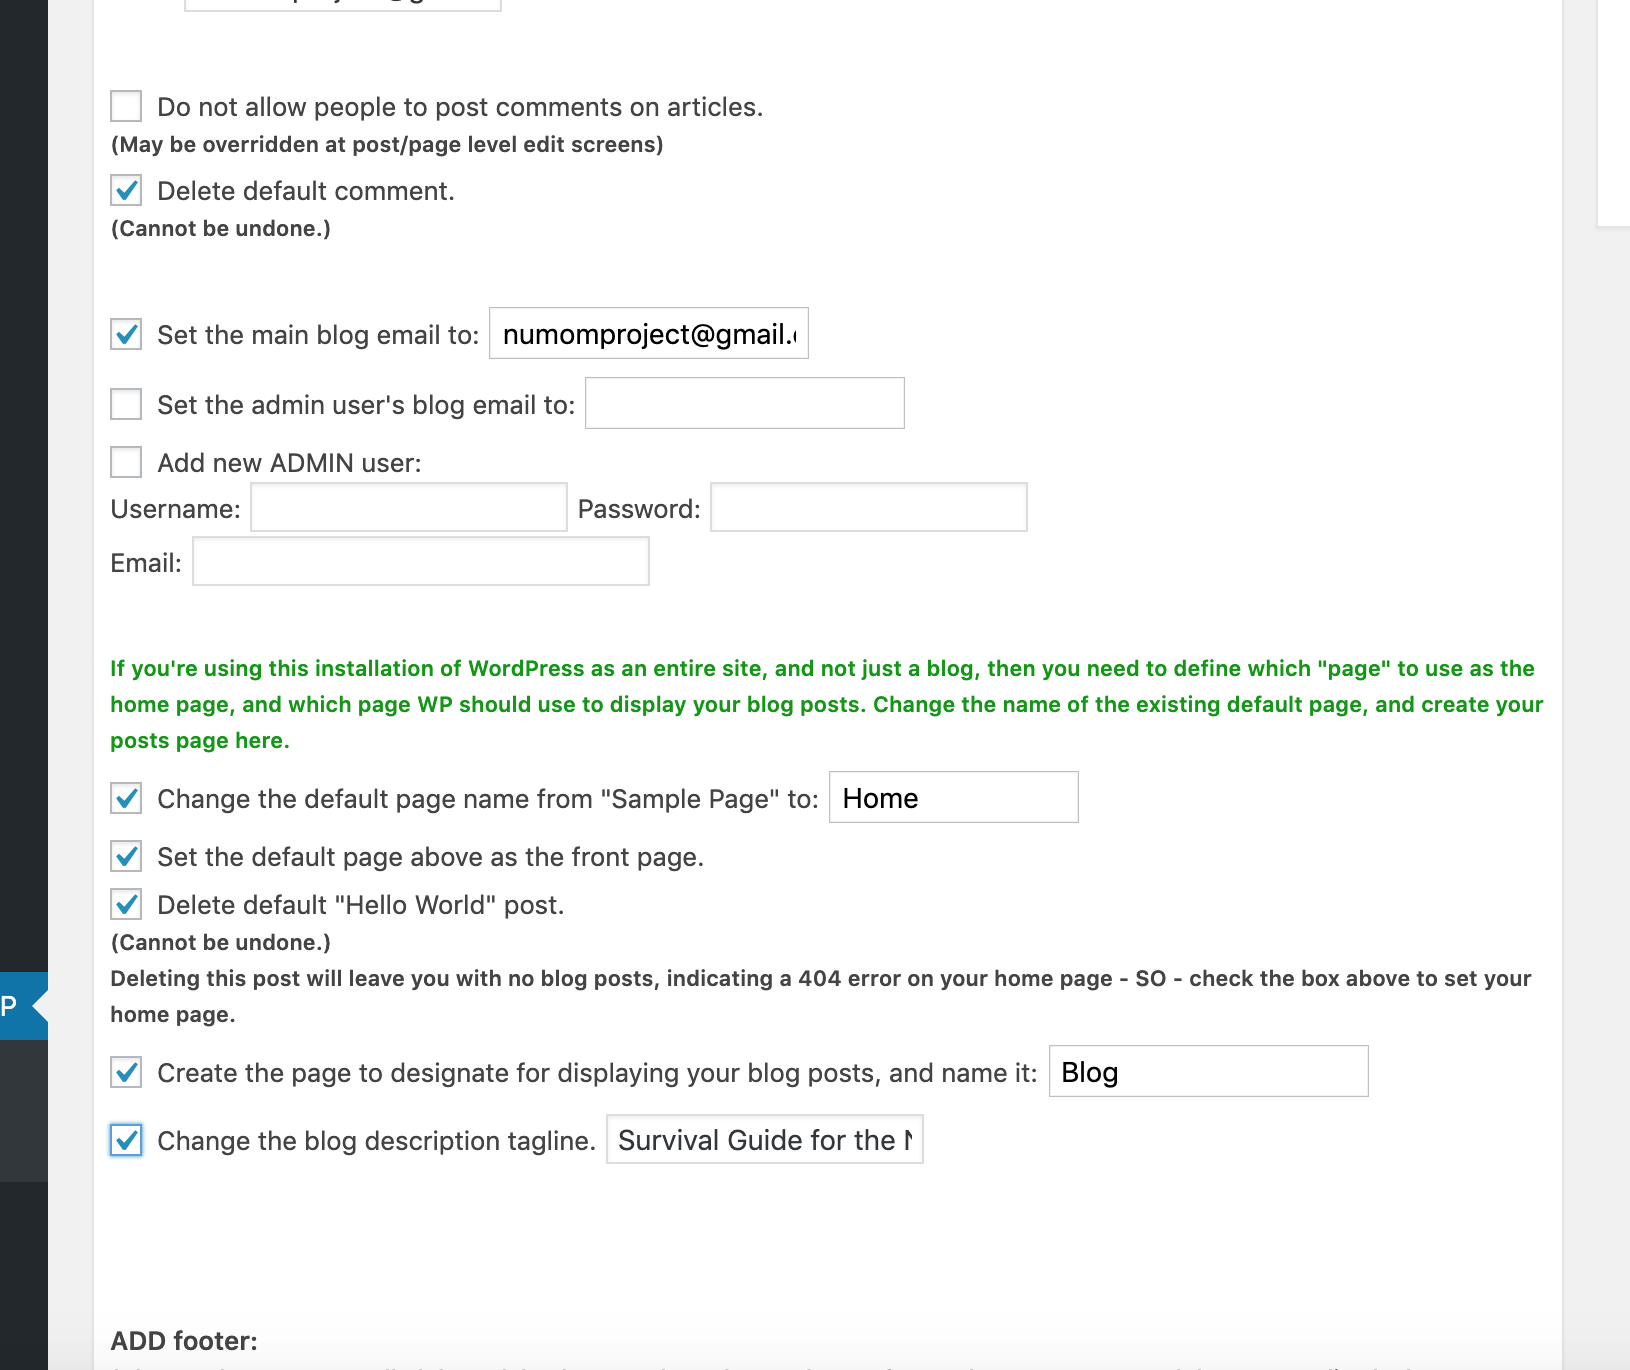
- Core Tweaks WP Setup – love this plugin, and if there was a site to donate for this one, I would contribute in a hot-minute. It’s a time saver for setting up a new WordPress install, allowing you to create multiple pages that you will need (contact, privacy)s, delete default “hello WordPress” post/comment, etc, all in one simple checklist approach. When I started blogging, this process would take a few hours- now it takes minutes. Here are my settings for Nu Mom, in images. I tend to stick to the same settings, and have for nearly 10 years. Once you have used Core Tweaks, you can deactivate and delete the plugin. Note: I don’t recommend adding a login link to your footer (option shown in 3rd image) or anywhere else on your homepage, since this is a security risk.


In one swoop that took mere minutes, I was able to do all of this with Core Tweaks:

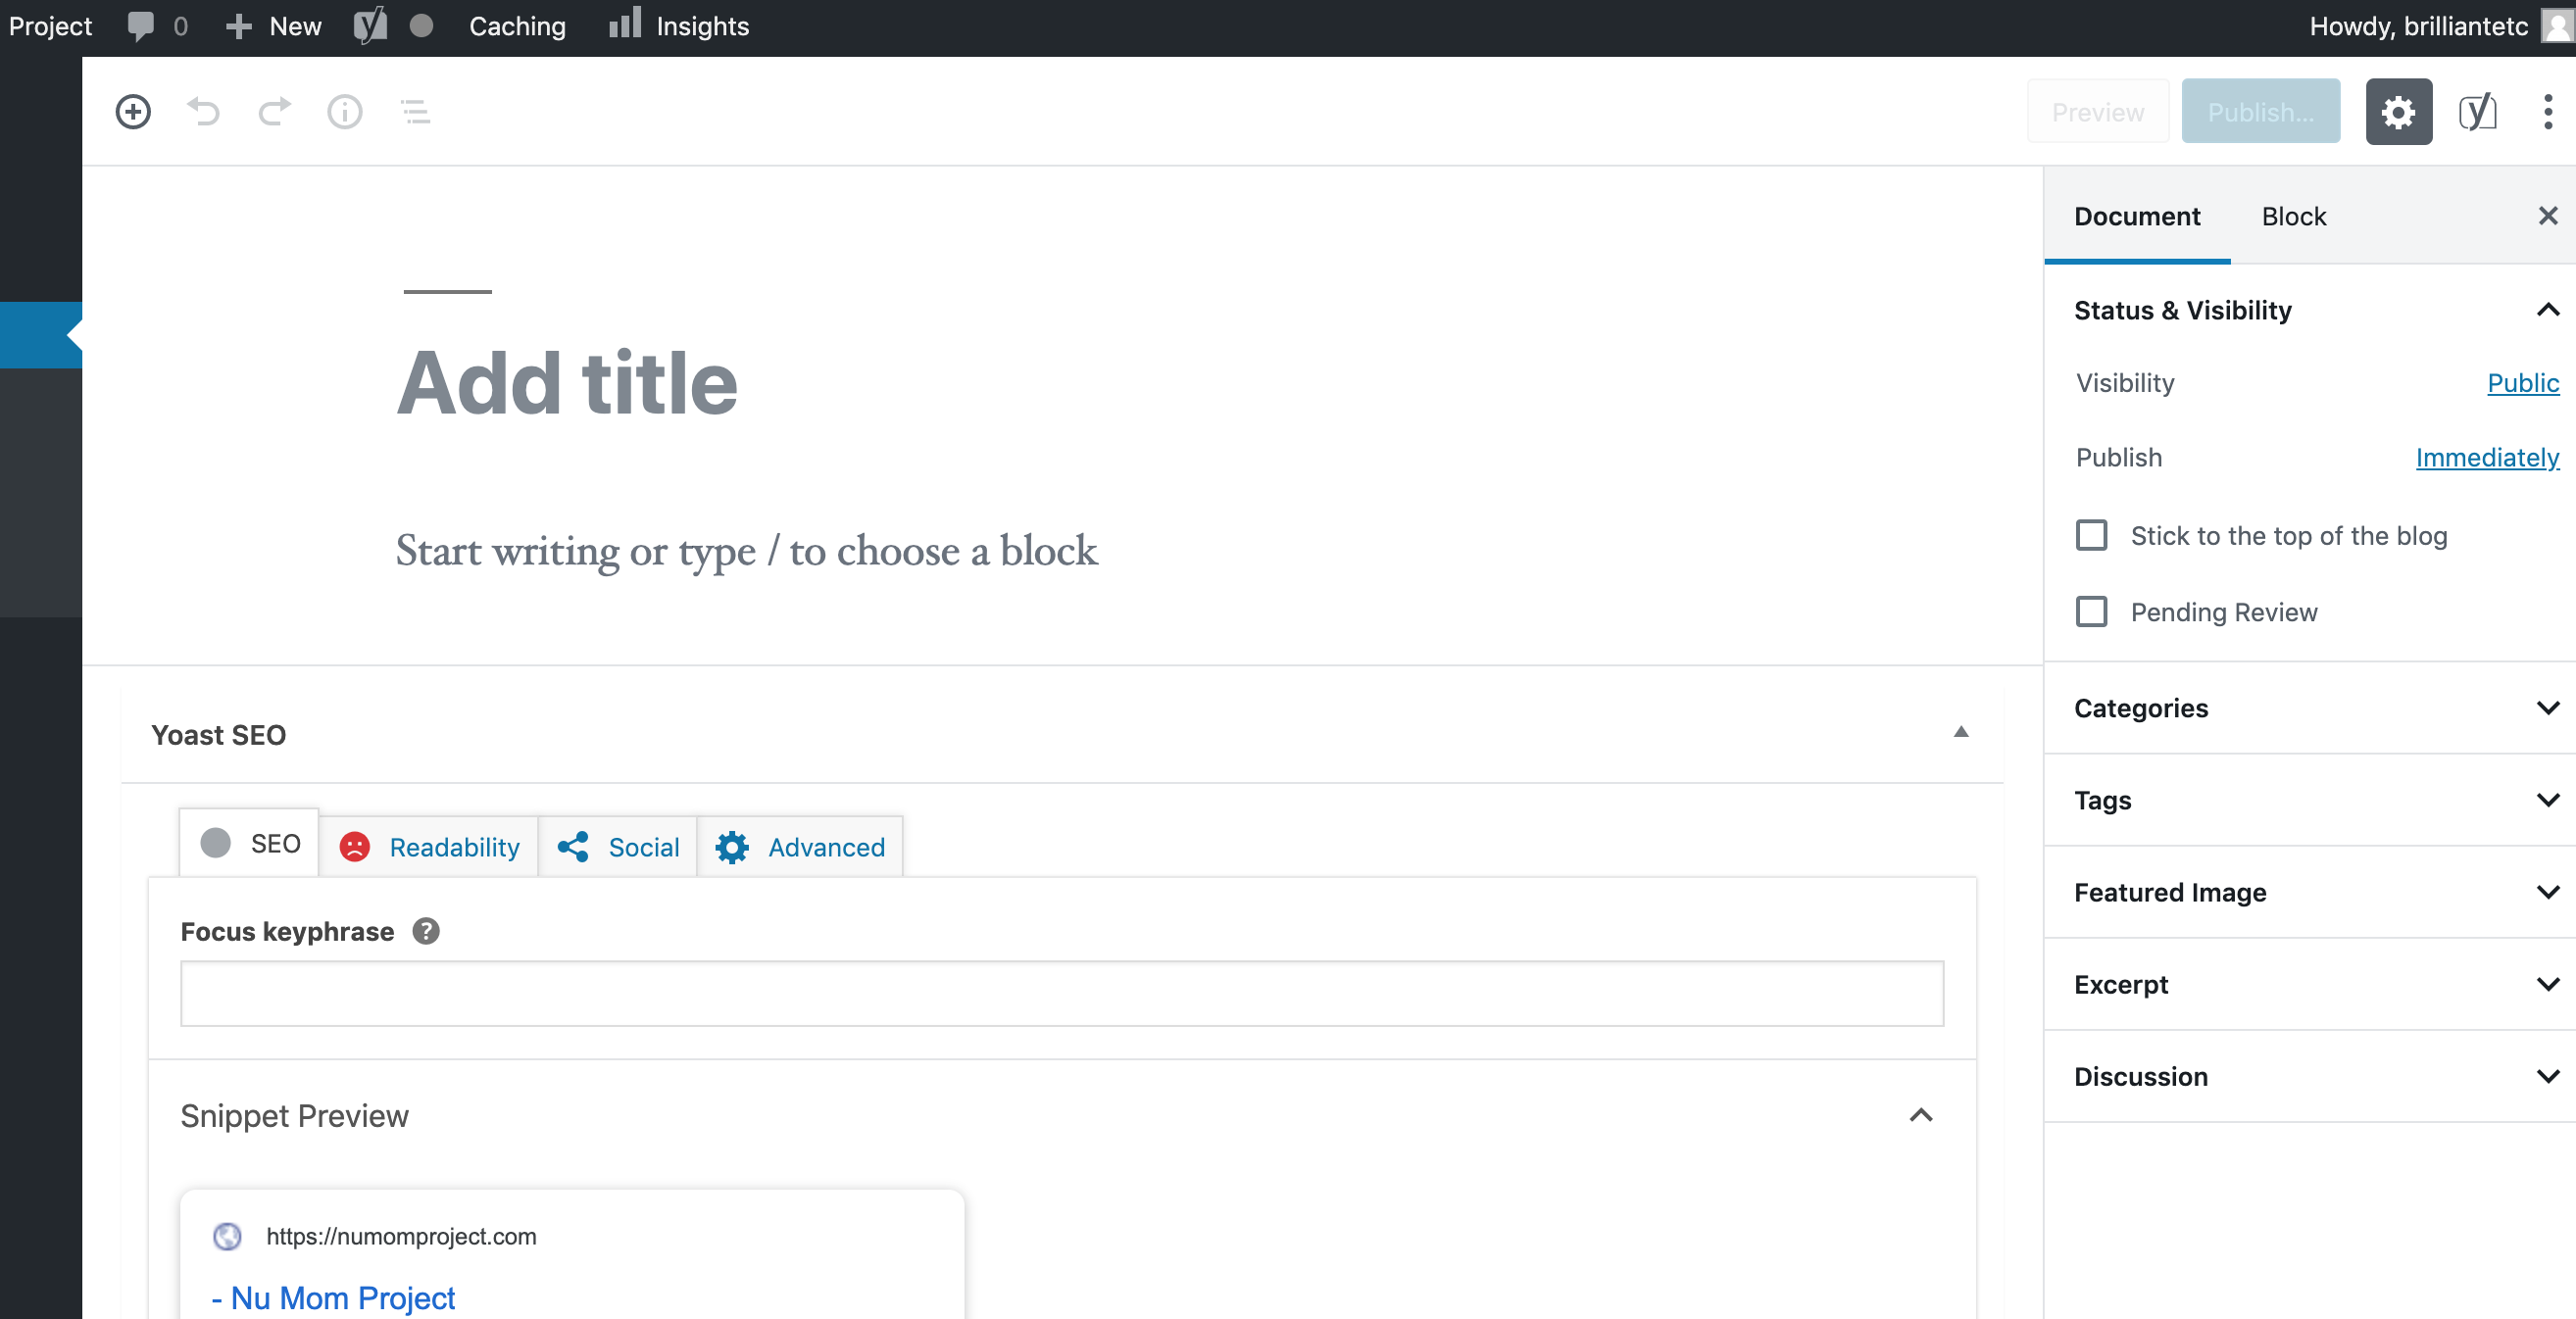
- Yoast SEO – This is my preferred SEO plugin, and certainly the most popular. The SEO features and tutorials are extremely helpful, especially for someone new to blogging. To set up, I use the configuration wizard.

- JetPack for WordPress – This plugin is amazing. It offers so many useful features, covering everything from security to backup (ESSENTIAL- I’ve seen people lose months of work because they failed to have an automated and reliable backup system) and statistics. Always a “must” in my book. There are honestly so many settings in JetPack, it can take some time to set up. I suggest perusing to familiarize yourself when you feel like it. In the meantime, you have security protection as soon as the plugin is activated. One thing you absolutely want to make sure you have here though, is backup.

- Akismet Anti-Spam – This plugin comes with WordPress but needs to be activated. Before Akismet, spam was out of control and with the amount of bot comment-spam these days, we definitely want to activate this one, then go to settings and click the “Get API” button. Here are my usual settings:

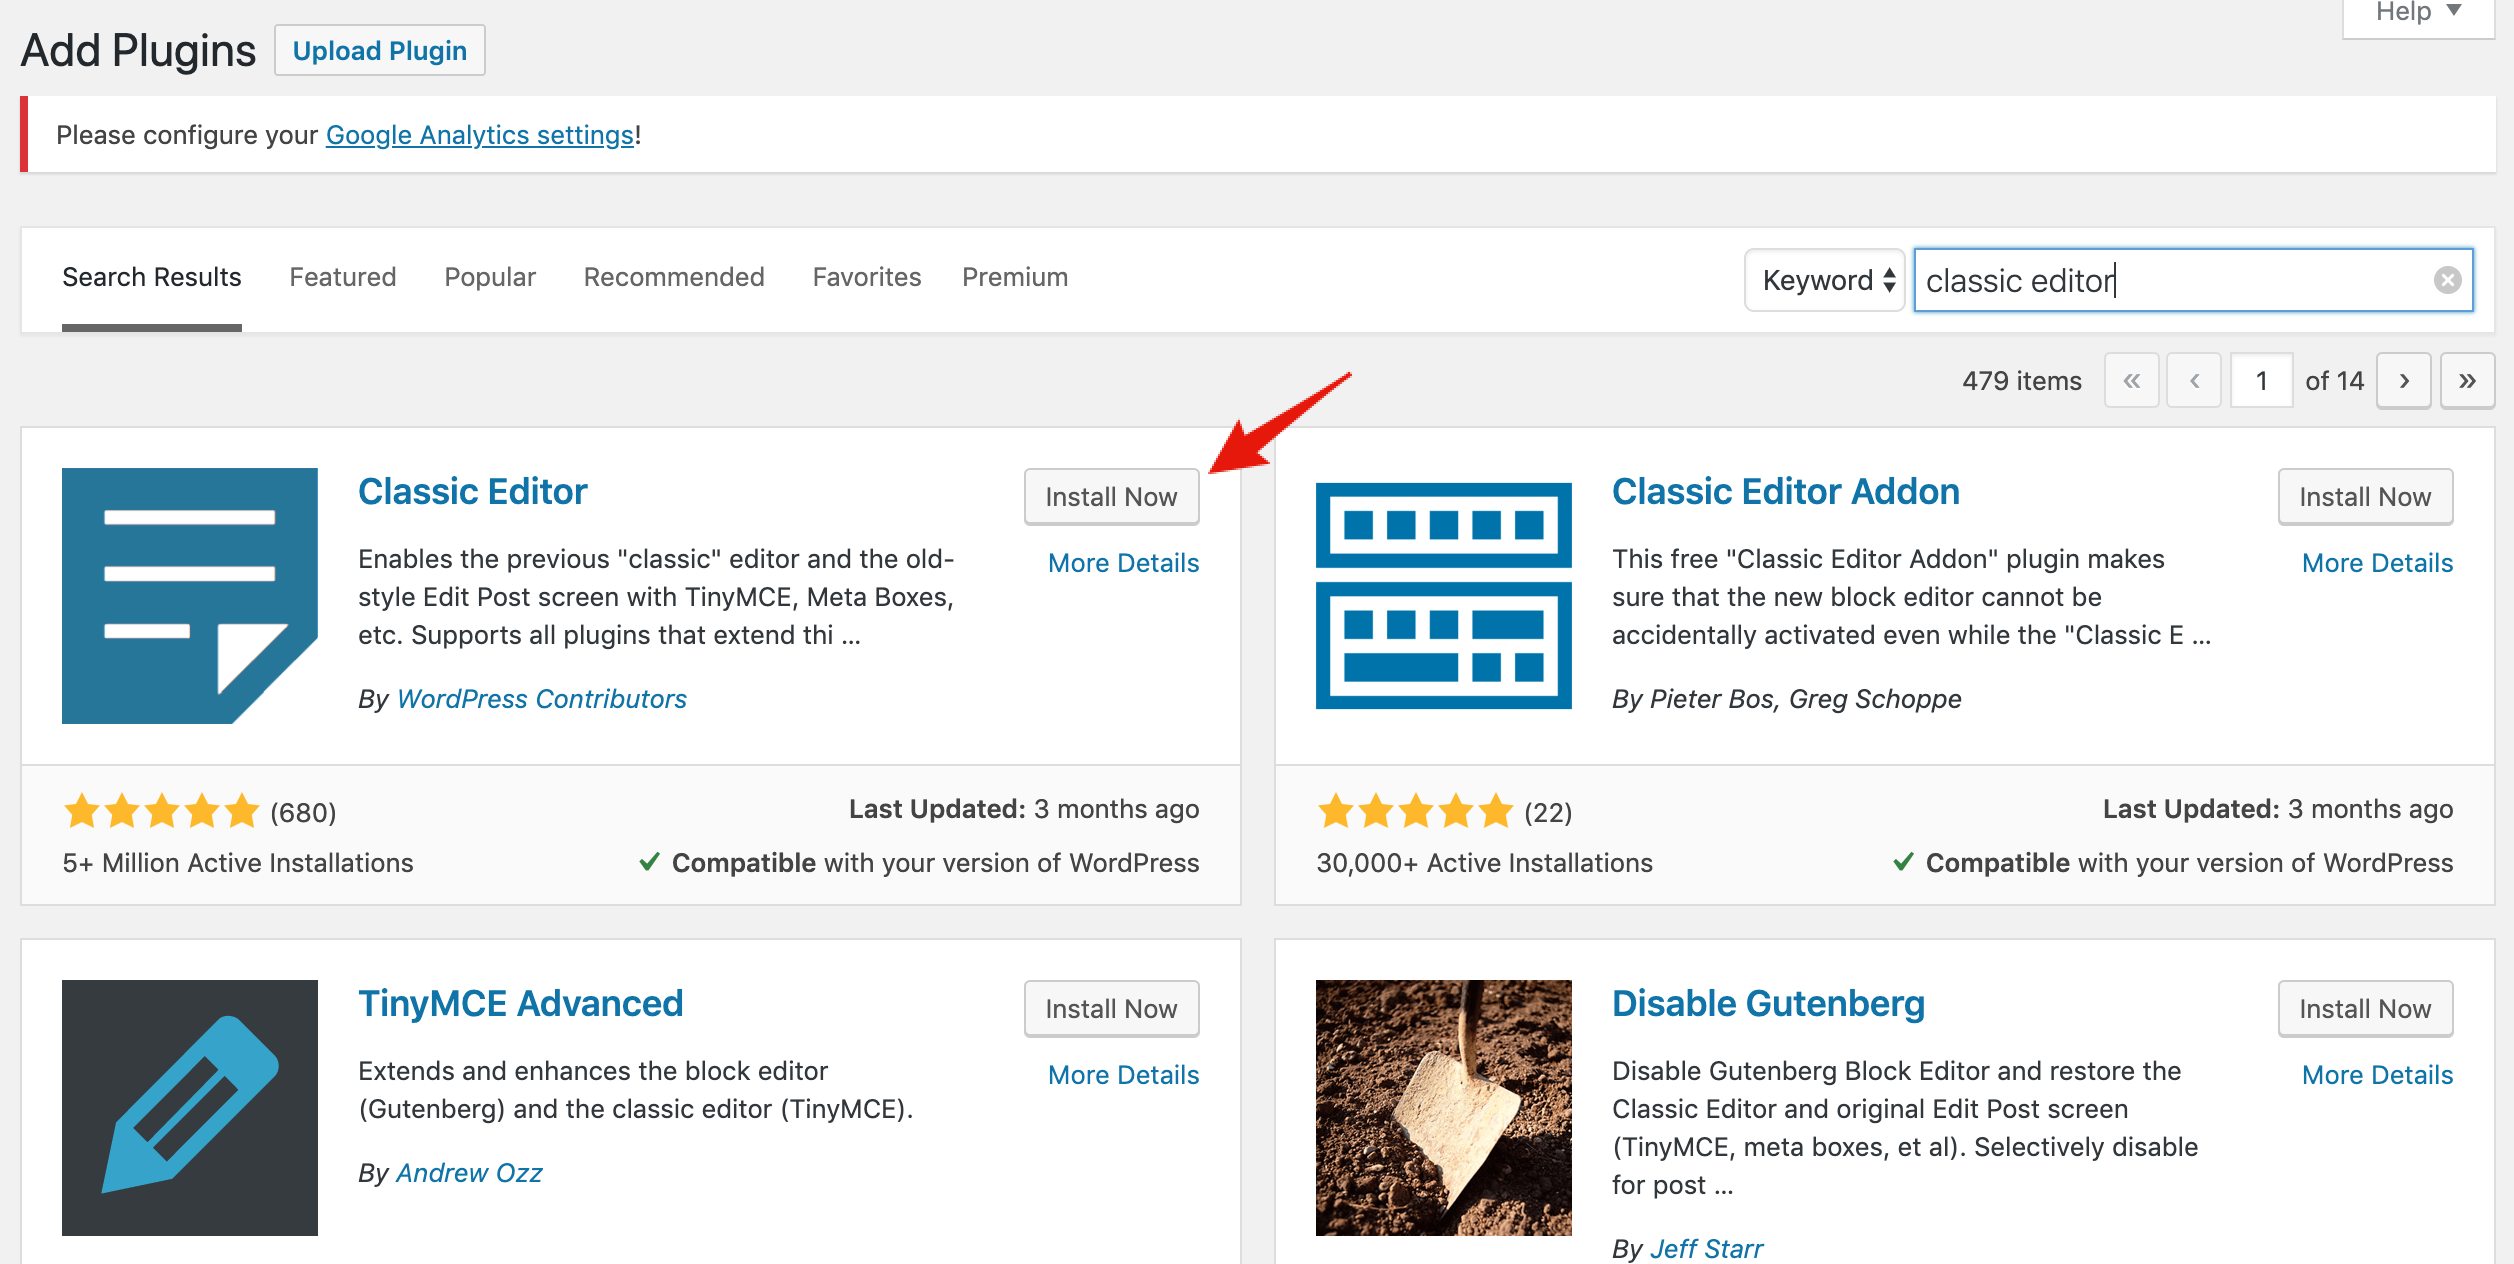
- Classic Editor – This plugin is optional, and I do recommend trying the new “block editor” WordPress has updated to. For now, I prefer WordPress’s “classic” editor and the old-style “Edit Post” screen with TinyMCE, Meta Boxes, etc. This plugin adds this editor back.


- Pretty Links or Thirsty Affiliate – IF you plan to use affiliate links in your blog, I recommend using this plugin. It allows you to shorten affiliate links, track clicks, manage and share any URL on or off of your WordPress website. There are two major reasons to use this plugin. 1. SEO purposes (Google prefer you make these links no follow- Pretty Links or Thirsty Affiliate make this simple.) 2. Update affiliate links across the board in one link-swap. Think of it this way… over the years, you have used affiliate link, “servicexyz.com/affiliate/numomtracking” over hundreds of blog posts. Then one day, you get an email from that company letting you know they have switched affiliate management platforms and you now have a new affiliate link. “Please update.” Now, you wouldn’t it be horrible if you had to go find all of those links and replace them individually? With the Pretty Links plugin, you can change it in one place and they are updated across your entire site.
- Monster Insights Dashboard Analytics – Provides at-a-glance traffic statistics right from your blog’s dashboard. It’s also much easier to understand than Google Analytics own dashboard, which can be overwhelming if you are new to all this. I prefer to install it from the start, so I have a baseline to monitor things as I grow. For setup, I follow the configuration wizard.

- OptinMonster – This is how I build my mailing lists to update and market to my readers. This is by far, the best plugin for opt-in forms (popups, floating bars, overlays, etc), A/B testing, analytics and insights, plus exit intent technology, and more. It works with all email subscribe services: Aweber, ConvertKit, MailChimp, etc. The reason I start with this one so early on, is because I want to blend the forms in with the theme.
Once all the initial setup is complete and I start getting traffic, I will revisit my plugins, to decide what else is suitable. This will also be determined by the theme I choose, since many require specific plugins to achieve the same appearance and functionality of the demo. An example of this, would be a slider plugin, or a social media plugin (necessary if this isn’t a feature of the theme itself.)
Before I continue on to Step 7, I have to say that I have spent far more time writing this case study/tutorial, than I have on the entire process of starting Nu Mom at this point!
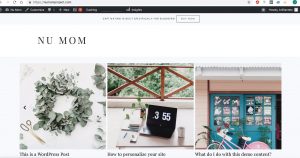
Step 7. Theme and Appearance – As of right now, this is what Nu Mom Project blog looks like:

As you can see, it’s bare bones, default WordPress with nothing added. I’m about to add a theme, install the demo layout and images, etc.
Sometimes it can take me days to choose the right theme for a blog. Other times, I just go with one of my favs and call it a day. In this case, I’m doing just that, and going with the Captivating Theme from Restored 316. I LOVE their themes, and this one is modern and feminine, which will be pleasing to my audience (ie. new moms will vibe with it.)
Here are the three themes I considered for the Nu Mom Project:
- Restored316 – Beautiful, feminine designs- I love them all. Light, flawless coding. Responsive. SEO friendly. I am going with their Captivating theme for Nu Mom. I’m relieved to choose this one since I know I can have it completely set up and looking like the demo in about an hour. This is huge- some themes take days to look like their demo and finish aesthetic set up. The main reason I chose this theme over the others, was for the feminine design. Note: Restored 316 themes also require the Genesis Framework.
- Divi by Elegant Themes – I don’t use this one often, but I’ve used it when helping others set up their new blogs. This theme uses a visual editor (you can see a video of this on the site) and tons of features. It is incredibly newbie design-friendly. I’m not too fond of the pricing on this one- $89 a year or $249 for life. Personally, I would never pay per year, for a WordPress theme, but for the lifetime price, if you love the theme, this isn’t a bad deal considering my last custom theme cost me $8,000. I opted not to go with this one for Nu Mom because it would have taken more work to make it as feminine as the Restored theme above.
- Hestia by Theme Isle – This is a go-to theme for me. I use it on this blog, and several others. There is a free version as well as a pro. If you are a new blogger, the pro version offers support that is far less expensive than hiring a designer or webmaster for tweaks. The theme itself is incredibly easy to setup and tweak the design to your preference. The coding is solid, it is SEO friendly, responsive… it’s really everything in a nutshell. I was tempted to go with this one, but again, the Restored theme is pretty much a solid fit, as-is, in the design category.
If you opt to go with another theme, keep a few things in mind:
- 1. Don’t pay a fortune for a custom theme right off the bat unless you really have to.
- 2. Make sure it comes from a reliable source, that offers security updates (avoid being hacked- it’s a massive pain in the rear and can cost you a fortune, and even years of recovery in some cases.)
- 3. Check the demo for responsive layouts on your mobile phone, tablet and desktop. Also, check it on various browsers. You want to be sure it is up to par for your readers and search engine standards.
So, now I’ve installed the Captivating theme, and the Genesis Framework (the theme’s engine.) Luckily, this theme has a demo import feature, so it won’t take me long to import the layout, images etc. and be looking fabulous in less than an hour. Their instructions for this are spot on as well.
This is what the new theme looks like before I install the theme’s recommended plugins and demo content:

Activate the new plugins: Captivated Theme’s recommended plugins that I am bulk-installing and activating now. Note: if this was a theme I was not yet familiar with, I would not bulk-activate. I would activate one at a time to make sure there are no issues with the plugins. It also makes it easier to tell which plugin broke the theme, if that happens. In that case, you can simply deactivate or remove the most recent plugin and you should be good.

Next, I install the Captivated widgets with the widget import plugin. If needed, the instructions are very clear on the Restore 316 site. Not too many themes offer this convenient feature.

Now that I have all the necessary plugins and widgets in place, I’m ready to install the demo content and make the site look exactly like the demo. Instructions can be found here in video and text.

Ok, so now I have completed all of these steps. I now have my blog completely read to go:

Follow along for updates of my progress!


Giovanni Azael
August 9, 2019Jeni this has to be the most welcoming, insightful article on blogging I have ever read to be very honest. I could tell that you were taking the reader for a trip with the intention of making sure no one gets left behind. Most definitely got some takeaways from this article. I look forward to experiencing your journey.🙏🏾 Thank you
Helen
February 8, 2020I have to thank you for the efforts you have put in writing
this site. I am hoping to check out the same high-grade blog posts from you later on as well.
In fact, your creative writing abilities has motivated me to get my own, personal site now 😉